Photographs of the Northern Lights have probably been more effective than anything else in generating interest in the phenomenon. Before digital cameras came along, the Northern Lights were difficult to photograph. Yet now, they’re everywhere on social media, leading people to think “I want to take a picture like that too”. The good news is that it is actually possible. We contacted award-winning Northern Lights photographer Petter Formo at Sandhornøya, south of Bodø, to find out what you will need. One interesting conversation later, we were much the wiser. Here is a summary of Petter’s good advice.
What you need to take Northern Lights photos
Cameras are both good and reasonably priced at the moment; the same goes for extra equipment. But you must remember to dress up well!
- A camera that can be set to manual mode, M, such as a single-lens reflex camera (SLR) or a hybrid camera. The very best mobile phone cameras can now be used too, but not in fully automatic mode.
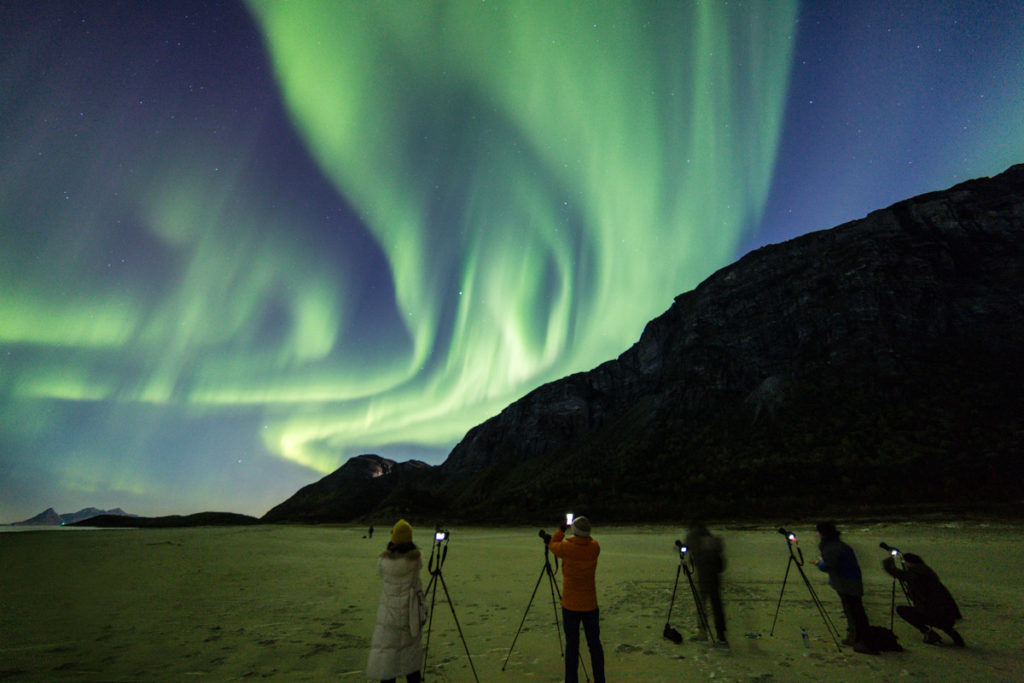
- A tripod or stand. A camera will take several seconds to take a photograph of the Northern Lights, and you won’t be able to hold it still for that long. If necessary, you can use a railing or a large stone, but a tripod is best!
- A remote control on the camera is a useful feature to have. You will then not disturb the camera when you press the button. You can use the self-timer function on the camera if it has one, and many models can also be operated remotely from a mobile phone.
- A head torch will help you set up the camera
- Fully charged batteries, and ideally an extra battery too, are good. The batteries will discharge rapidly on a cold night. An extra memory card can come in handy on an enchanting Northern Lights night, too.
- Warm clothing with woollen underwear, a hat and mittens will ensure you stay comfortable out on a cold winter’s night. A flask of coffee can be a good idea too; waiting is an unavoidable part of the hunt for the Northern Lights.
Learn to set your camera before you go out into the dark
It can be a good idea to get your camera out now and experiment with it a little. That little book that comes with the camera can also help too.
- Set the camera to manual (M on the wheel on the top of the camera).
- Set the aperture opening to the maximum setting. Most lenses have a maximum opening of 3.5, while Petter’s more advanced camera has an opening of 2.8. This will let in as much light as possible.
- Set the ISO to the correct value. If you have a reasonable camera of an older type, you should not set the ISO to more than 1600; if you do, the picture will come out grainy. Petter’s more advanced camera takes sharp Northern Lights pictures with an ISO Of 6000. You can adjust this as you go along.
- Set the shutter speed to 10 to 15 seconds. If the Northern Lights are just a white haze with stars shining through, you can set the shutter speed to over 20 seconds. However, if you do this with an extensive Northern Lights display with a lot of movement, the picture will just be a green blob. You should then set the shutter speed to 3–4 seconds, or even as low as under one second on occasions. This will bring out the pink outer rim and the purple colour in the centre, and you will be able to see the fine details of the Northern Lights.
- Setting the focus correctly is not easy. You have numerous options open to you, depending on what lens you are using. If you can see a horizontal number eight on the lens, your camera can focus on infinity, and you can set it to this. You can also set the lens to manual focus (not in the menu, but on the lens itself), and then take a picture of a star or other bright object. Now zoom in on the star and see how sharp it is. You can then turn the lens until it is sharp.
- Place the camera on the tripod or stand. In strong winds, you might have to hold it down or suspend a bag of stones beneath it in order to stabilise it. More expensive tripods are often heavier and sturdier.
- If “aperture opening” and “shutter speed” are completely new terms to you, it may also pay to go on one of the many photography courses that are arranged at Northern Lights destinations across Northern Norway. If you take one of these courses on the first evening, you will then be able to make use of your newly acquired skills on the following nights.
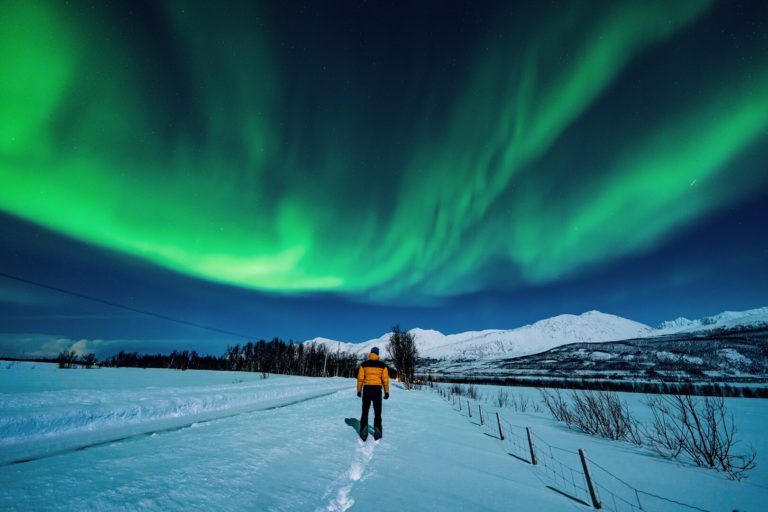
Tips from a pro on how to take northern nights photos
Petter takes photographs in the beautiful landscape of Sandhornøya, but he also heads to Bodø sometimes. He suggests that you consider the following when deciding where to wait for the Northern Lights.
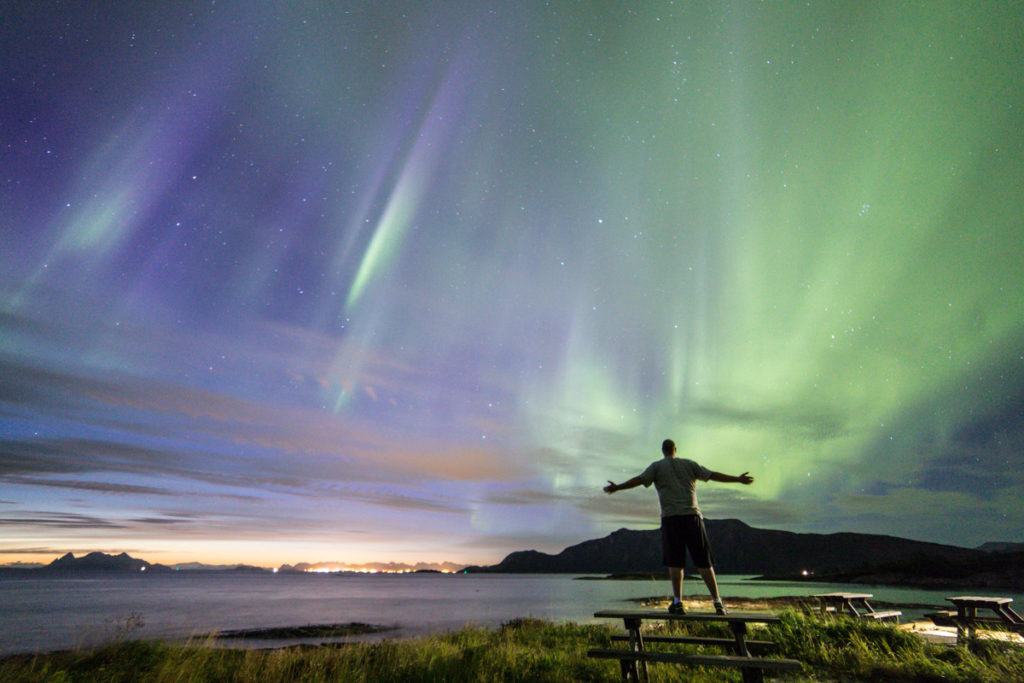
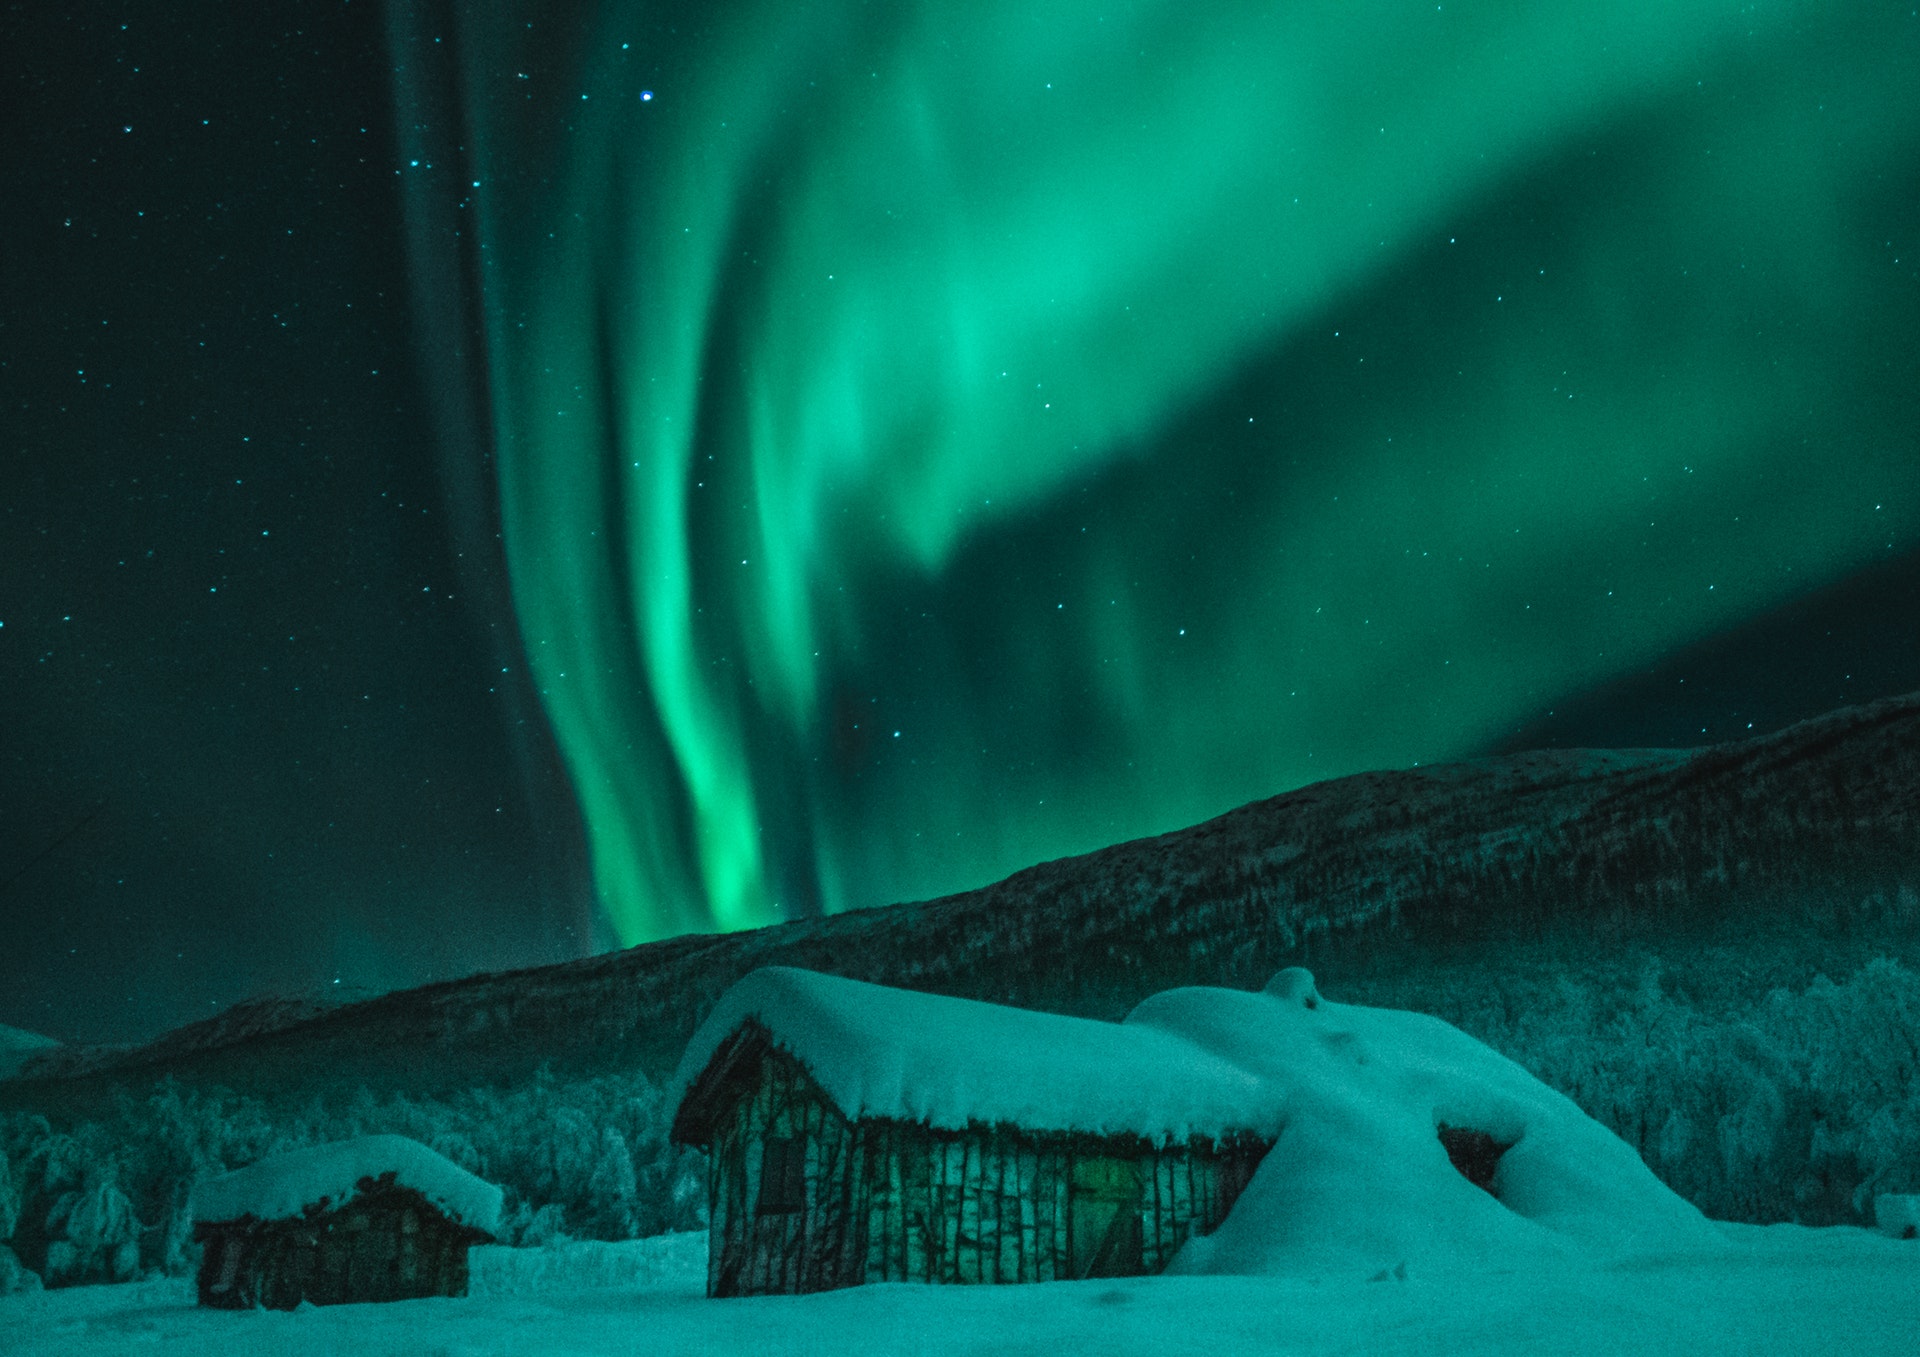
- Find an attractive background; a large, nicely shaped tree, a boathouse on the shore or a line of jagged mountain peaks usually make for a good background.
- Do you want the Northern Lights to be reflected in water? If so, head for a fjord, lake or the shore down by the sea.
- The most difficult part is people. This is because you must sit absolutely still for quite a few seconds. Anyone who doesn’t will appear like a ghost under the Northern Lights. You must therefore get your partner to sit completely still.
- Finally, we have a trick for more experienced photographers. If you have a good editing program, you should set the quality to raw format (raw). This will make editing your photographs afterwards easier, and you will be able to tone down over-bright lamp posts, while the Northern Lights can be edited to reproduce roughly what you saw with your naked eye.