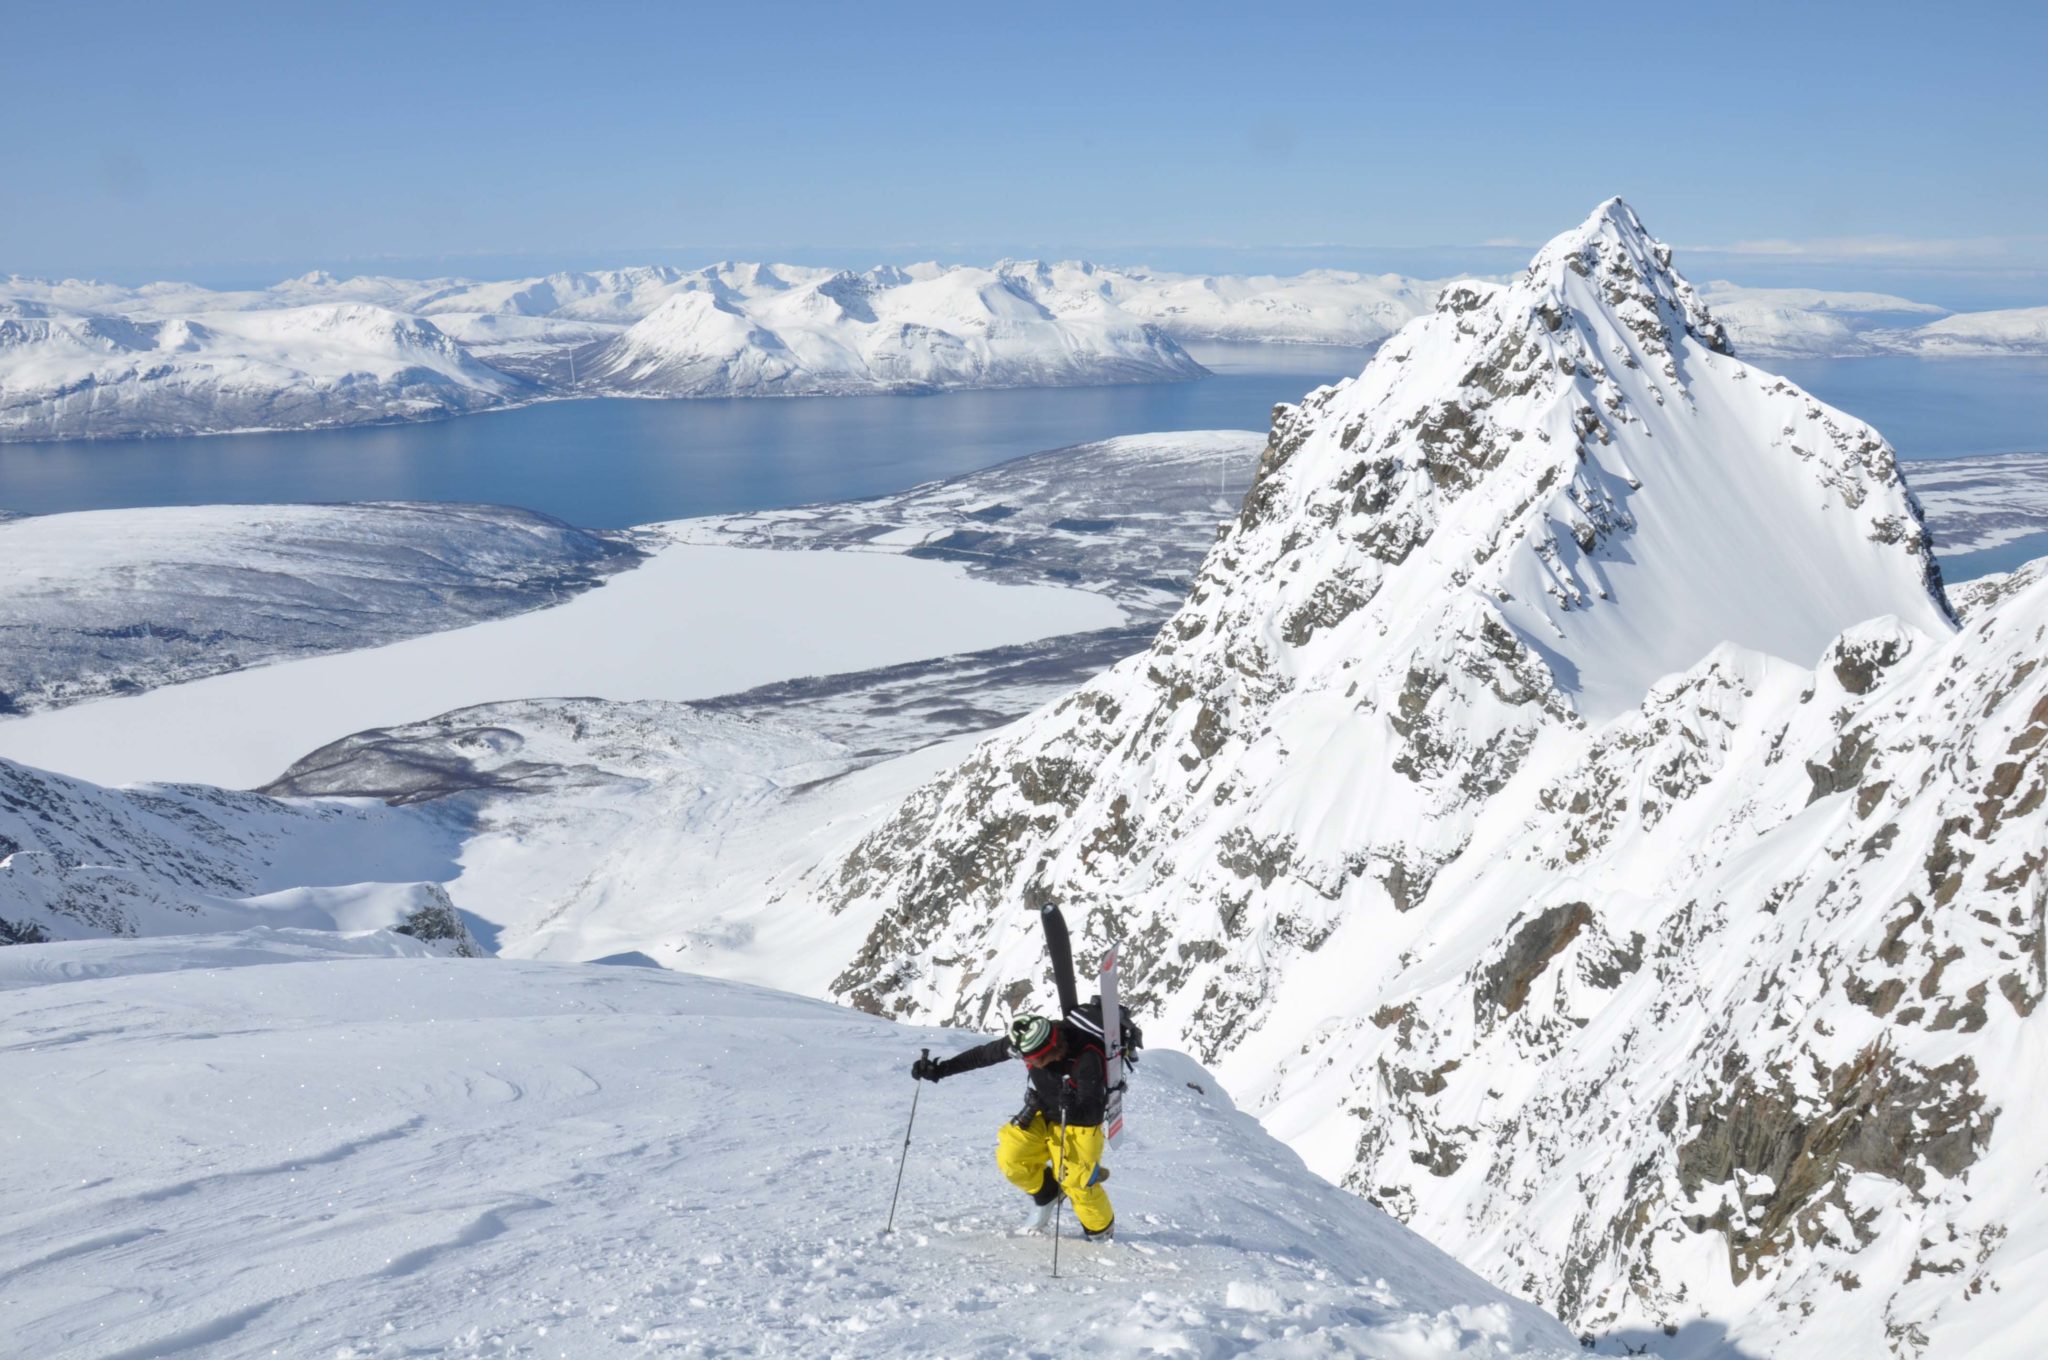
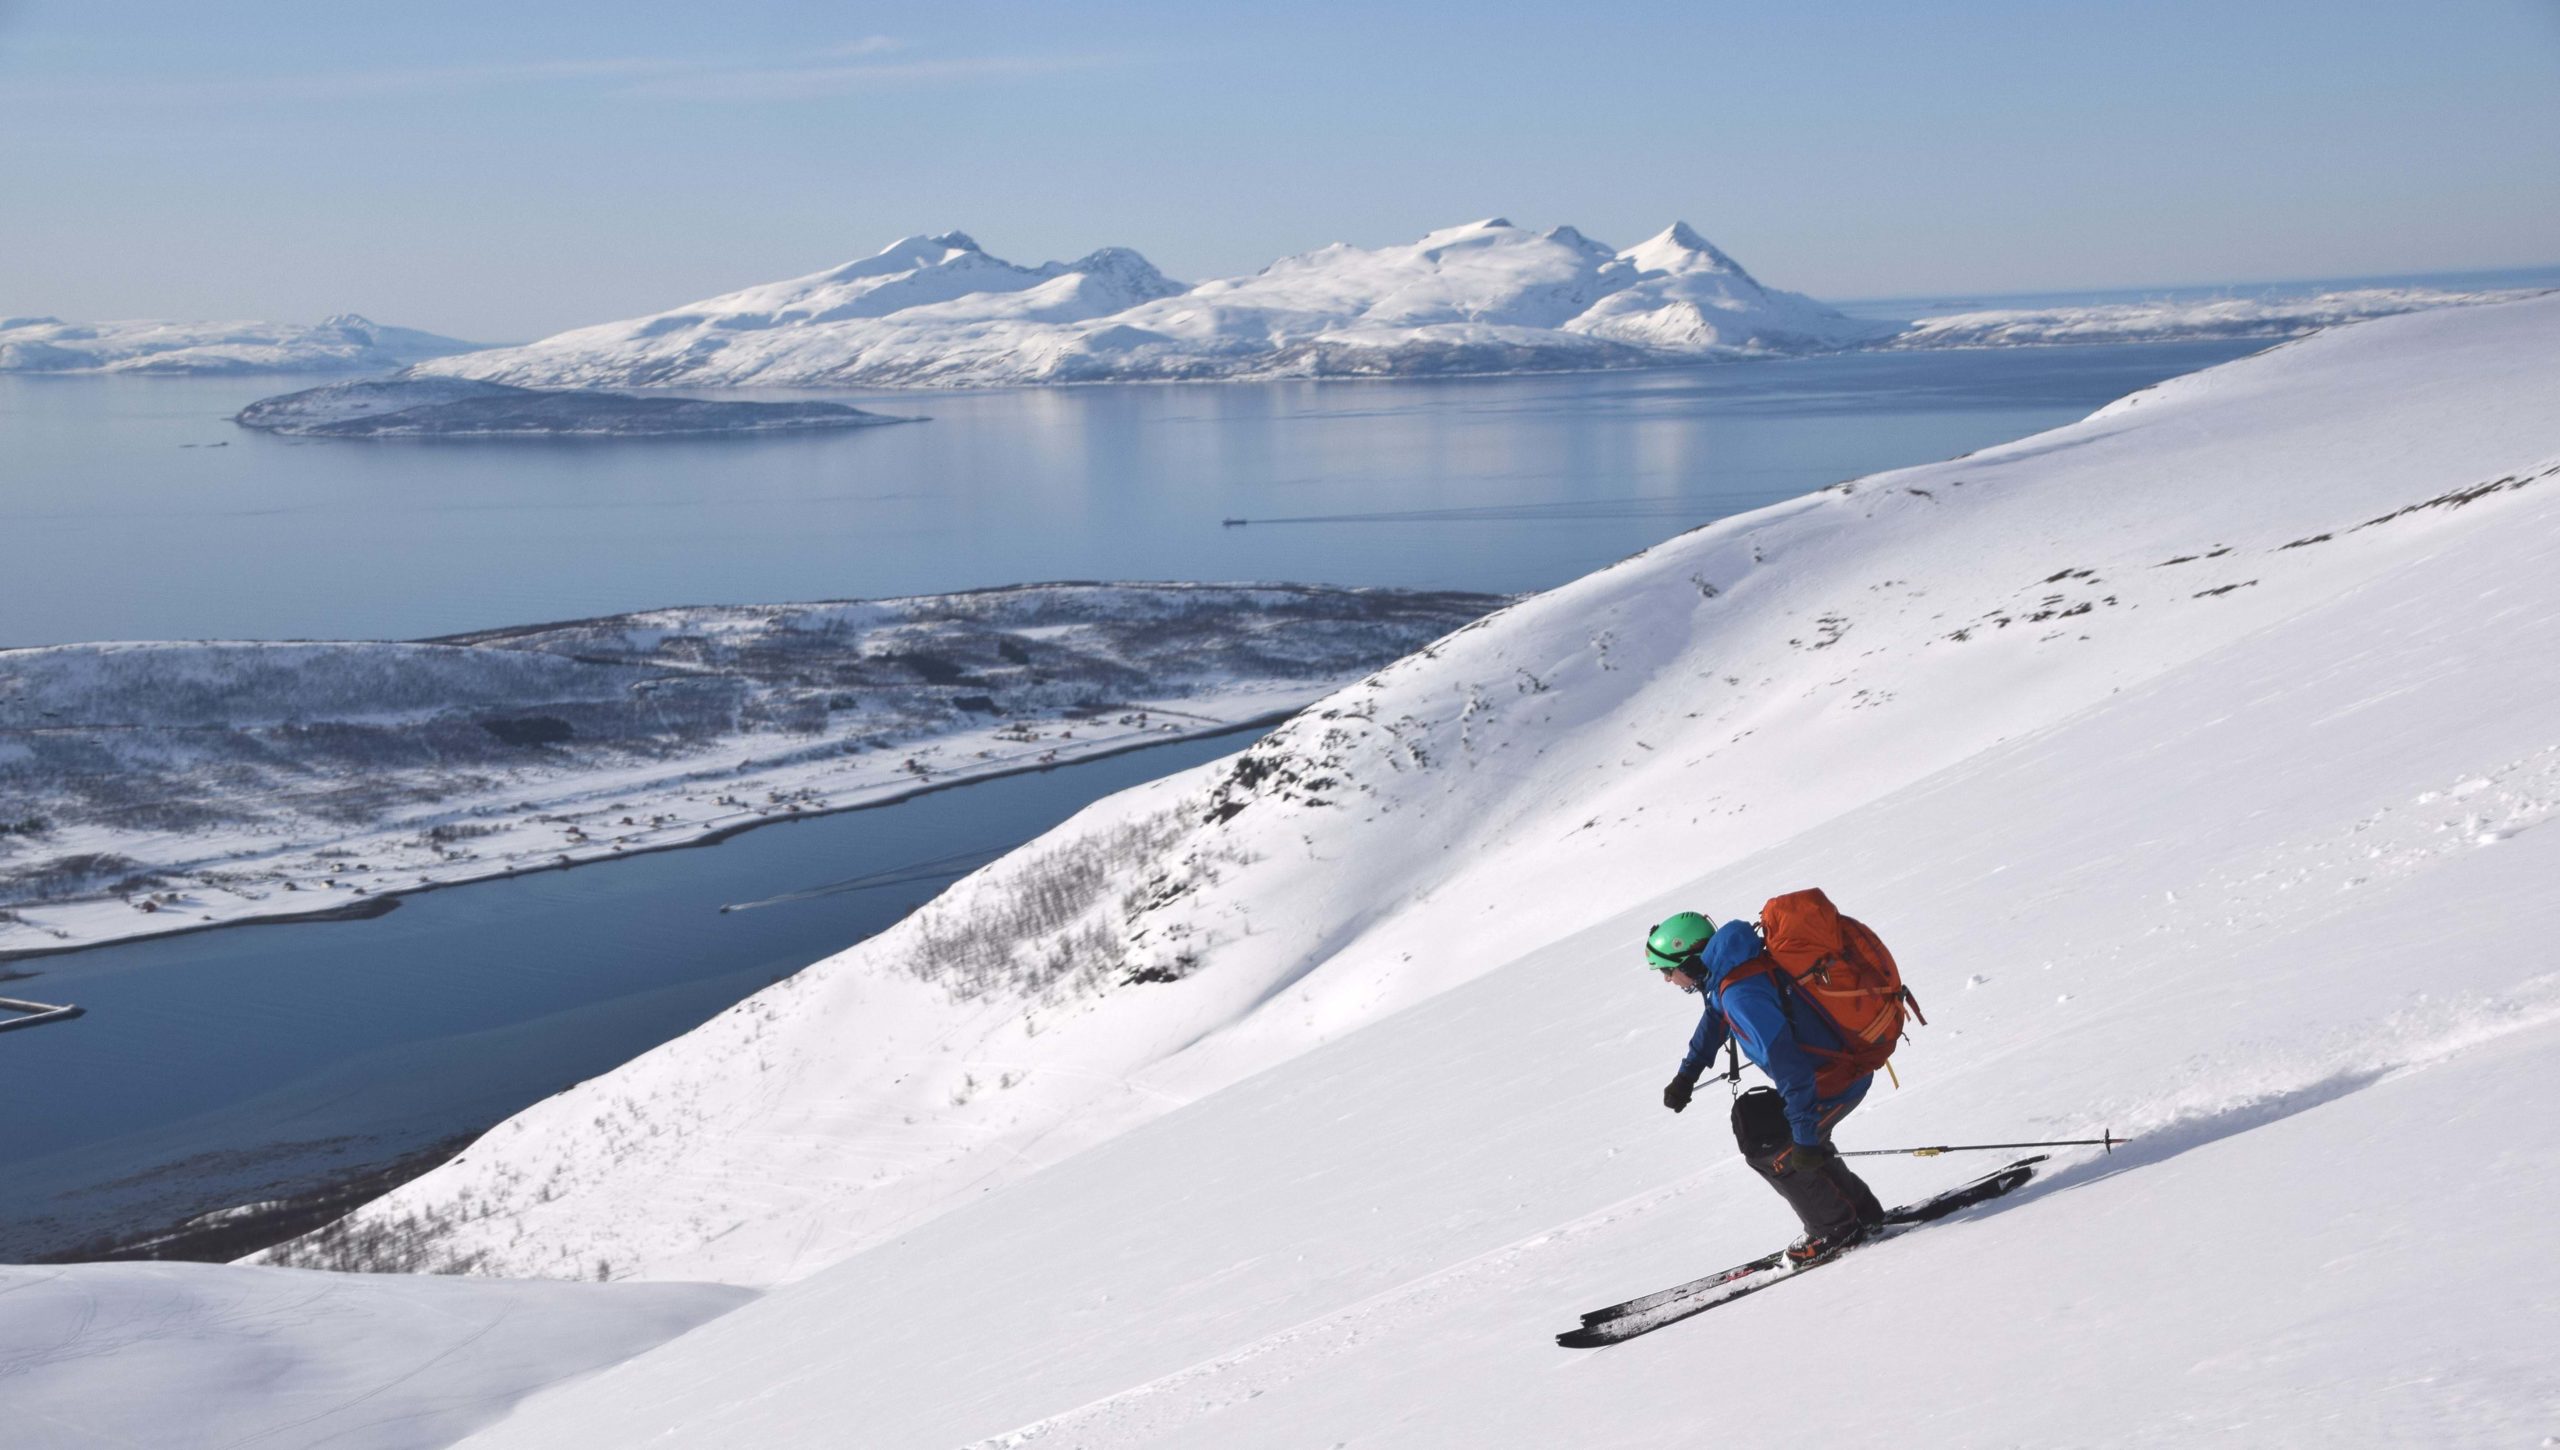
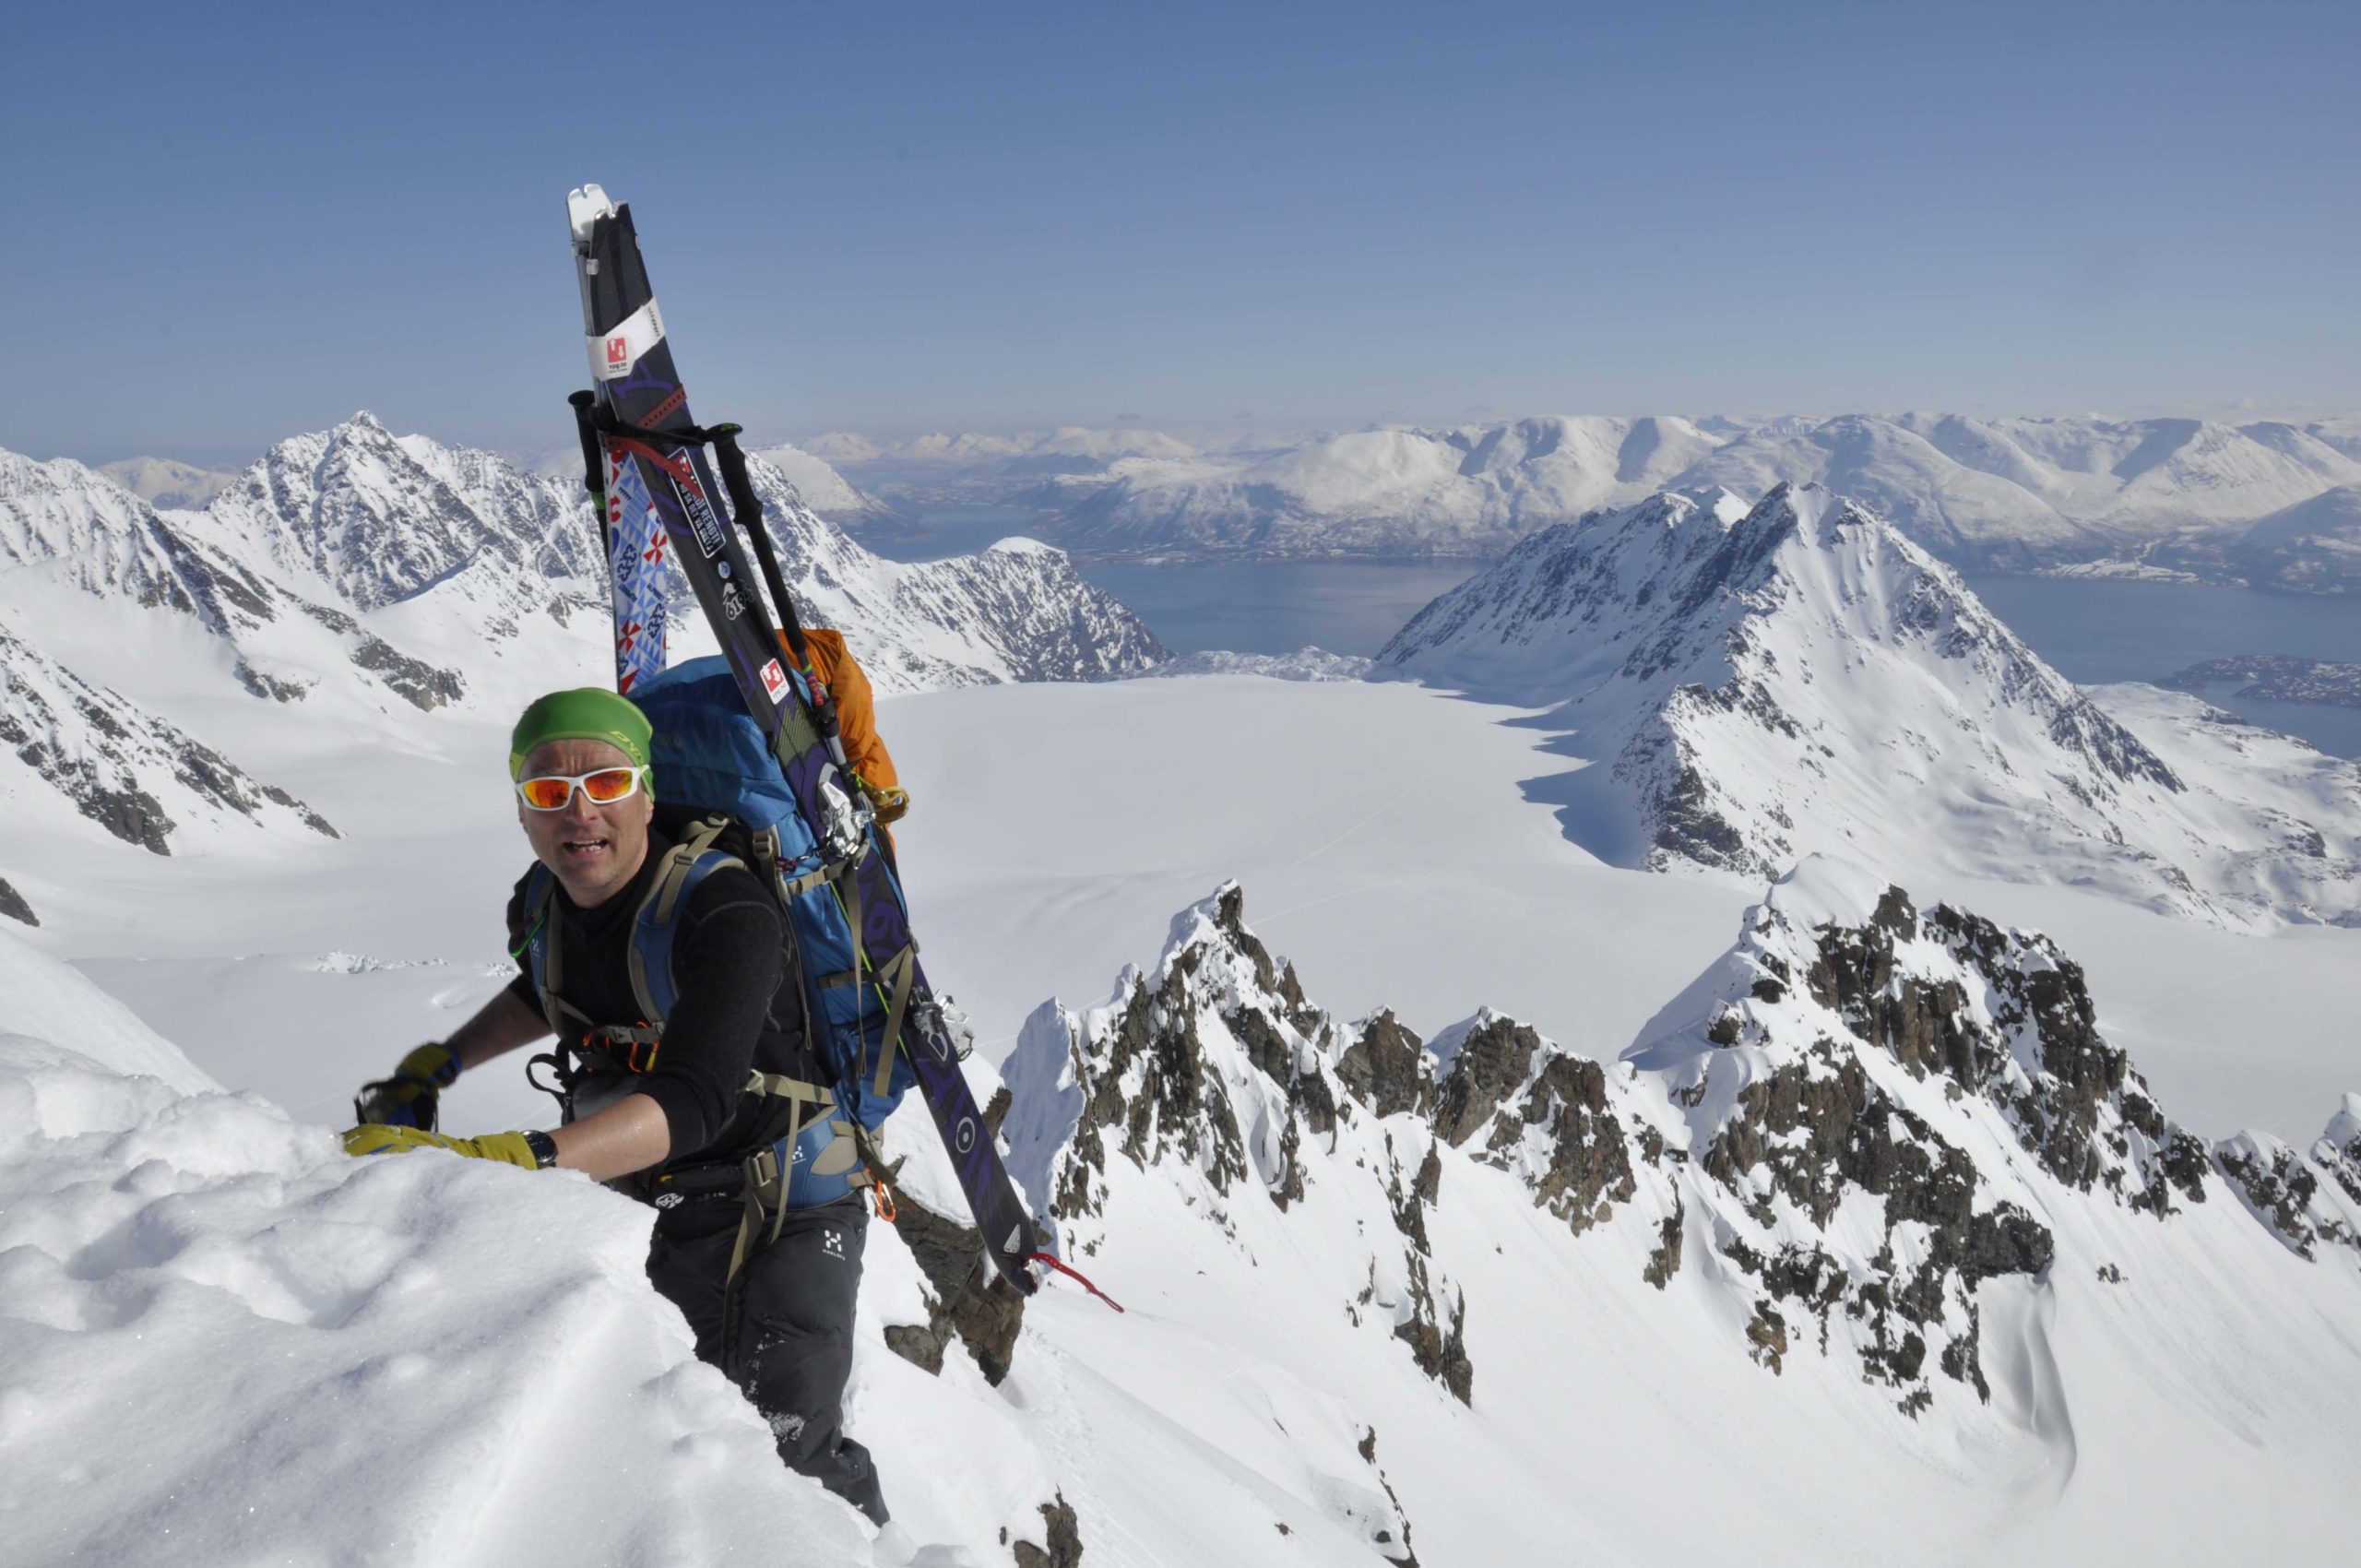
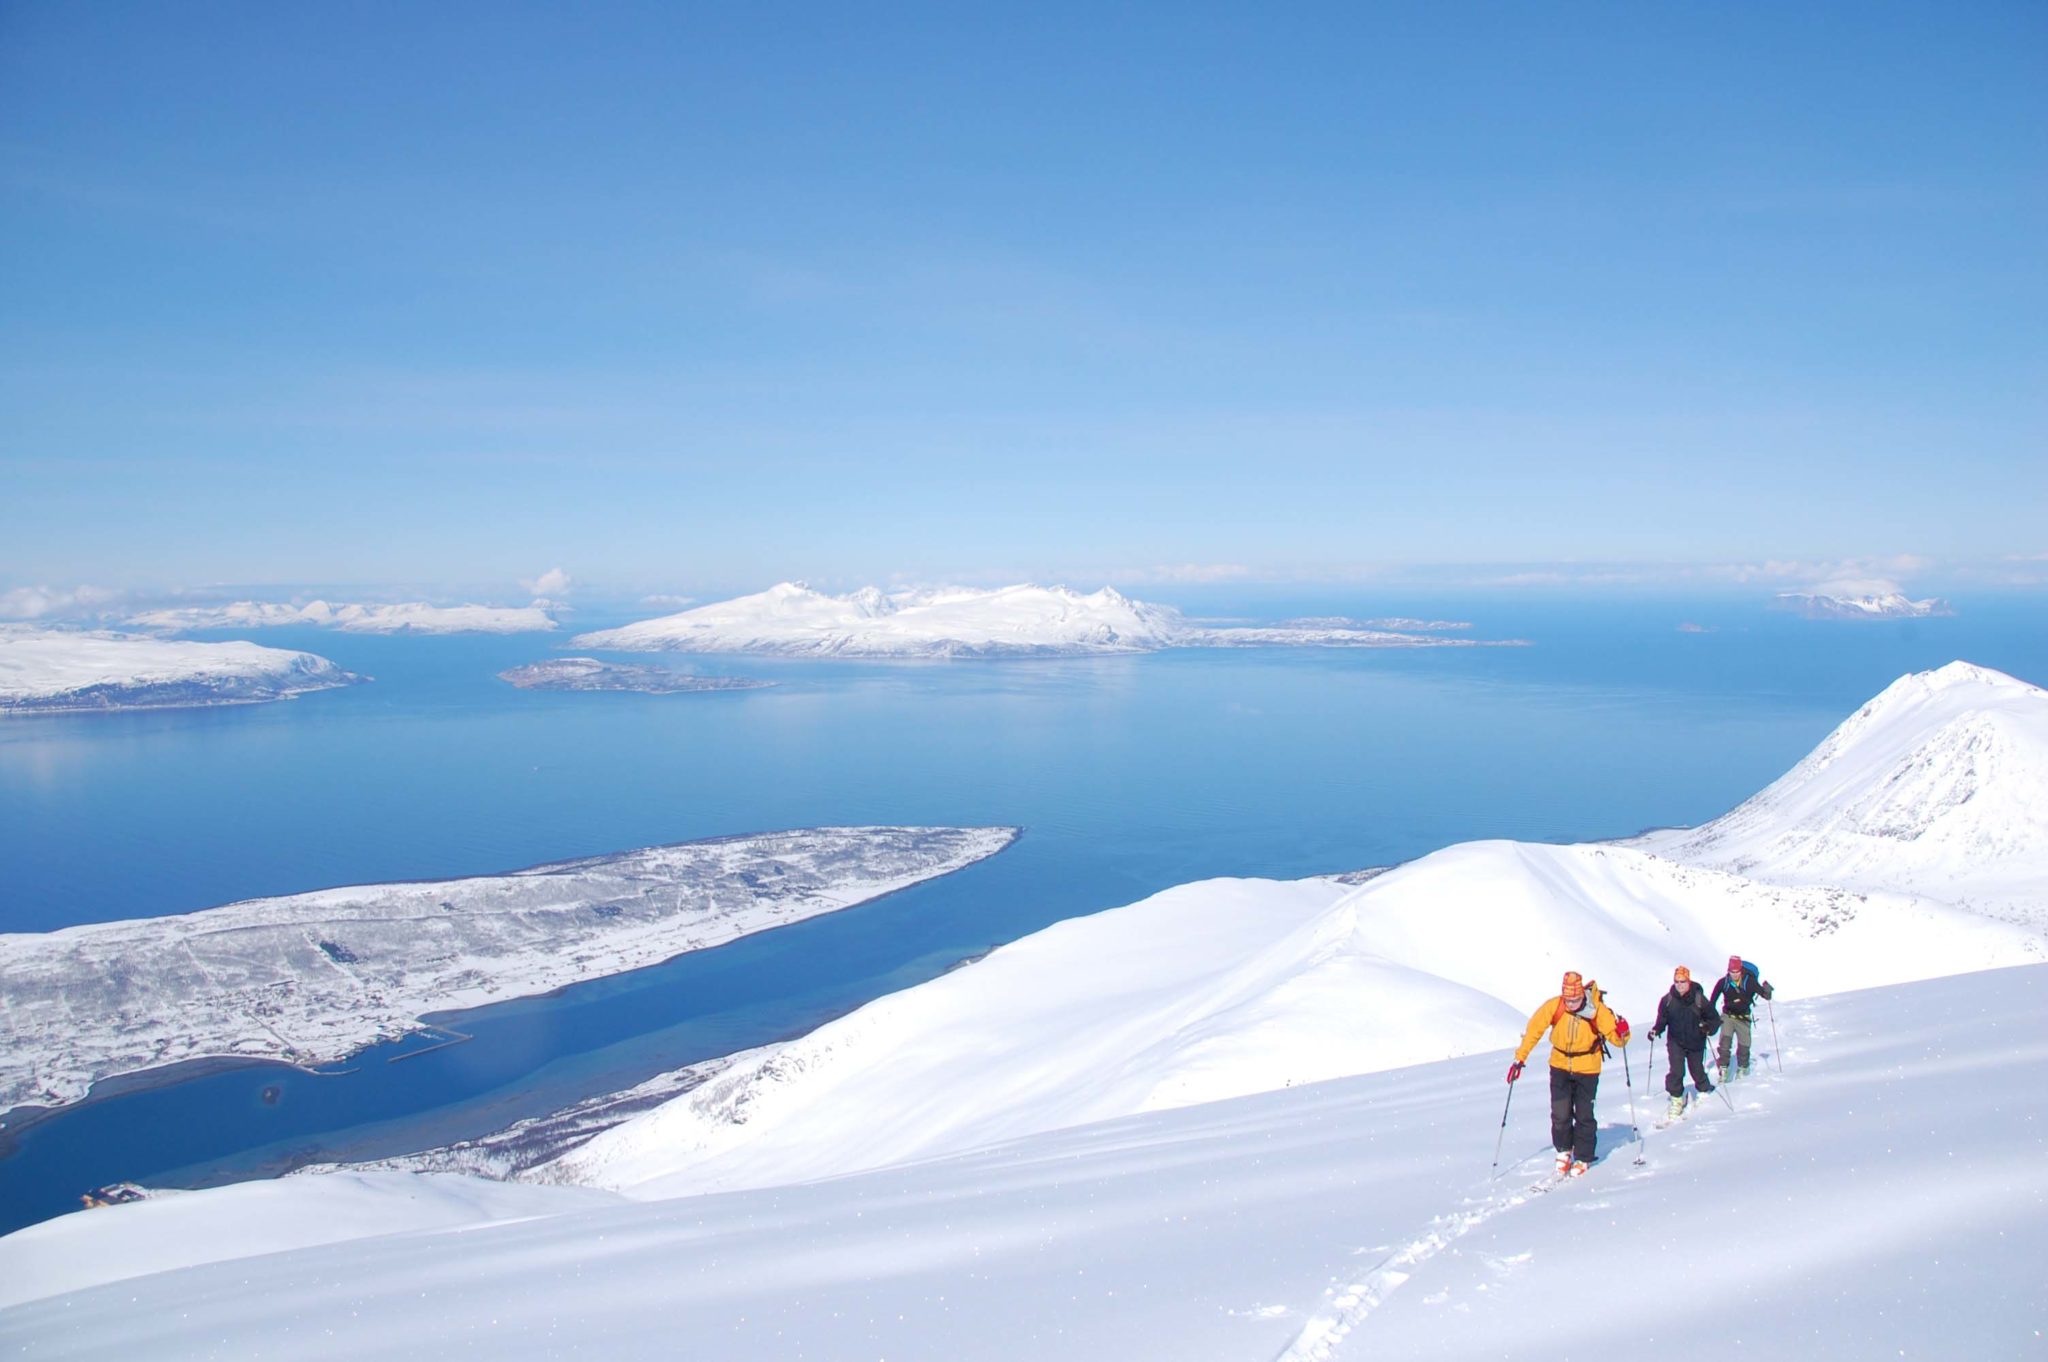
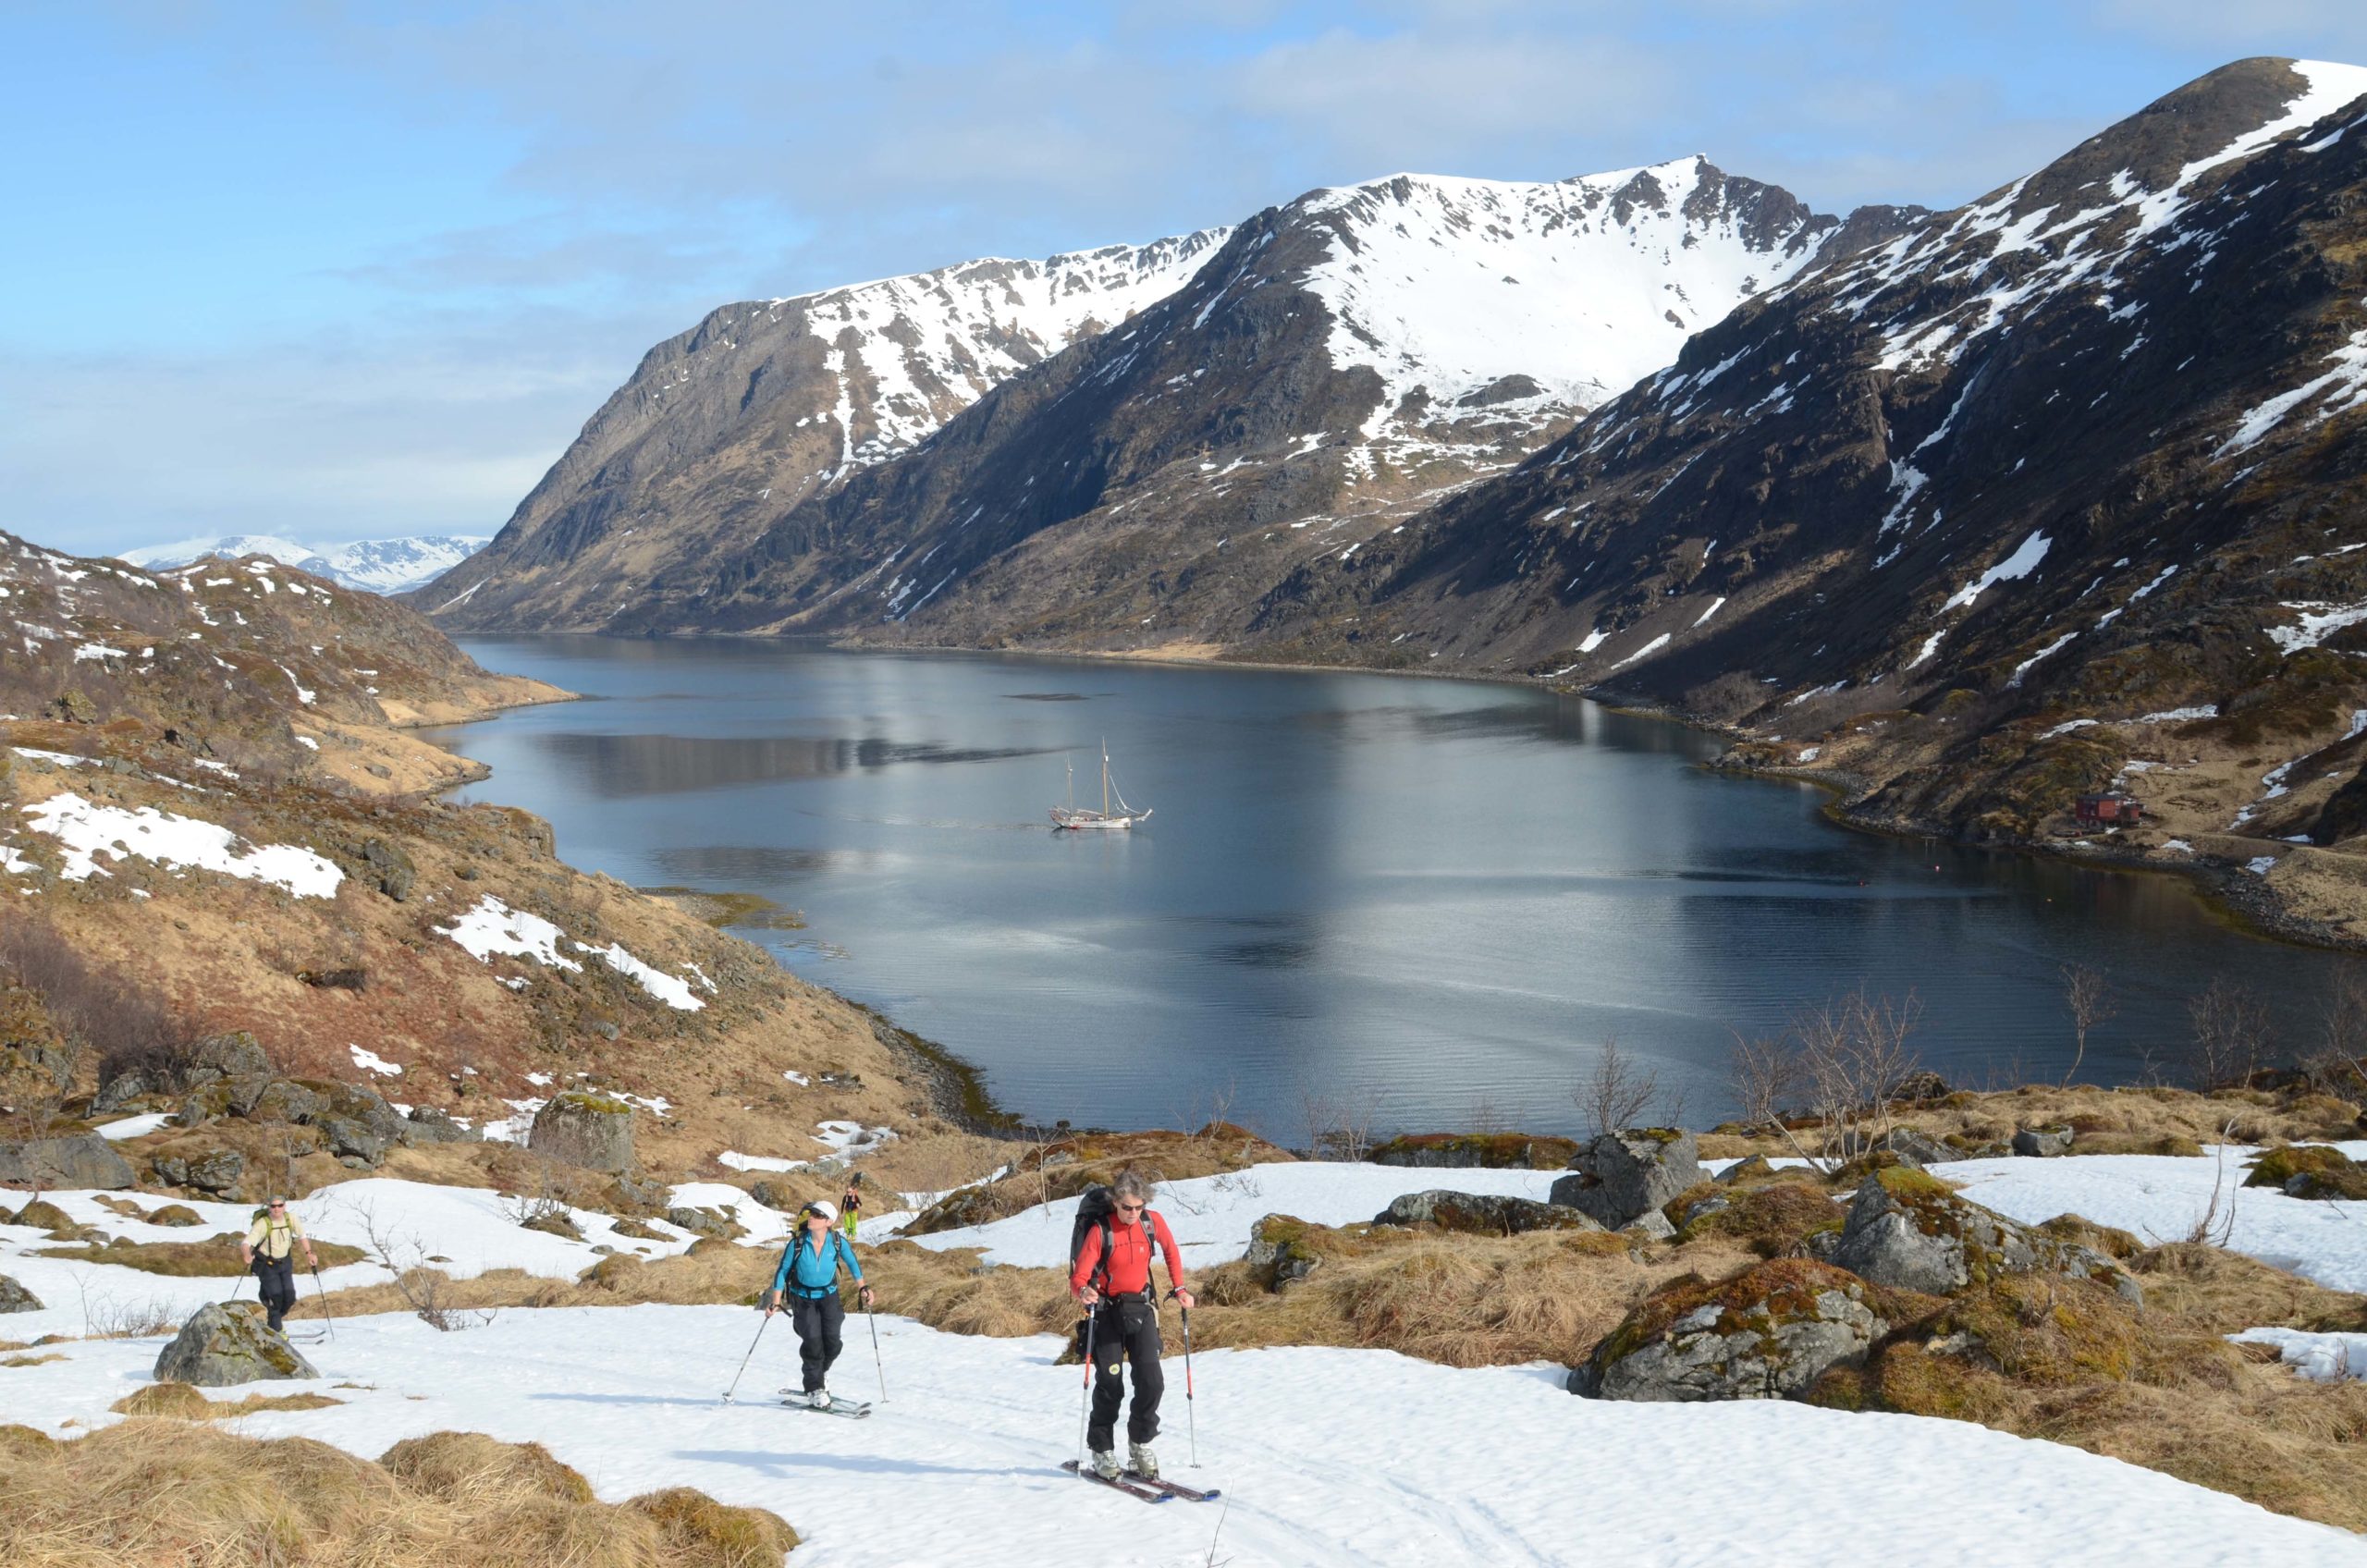
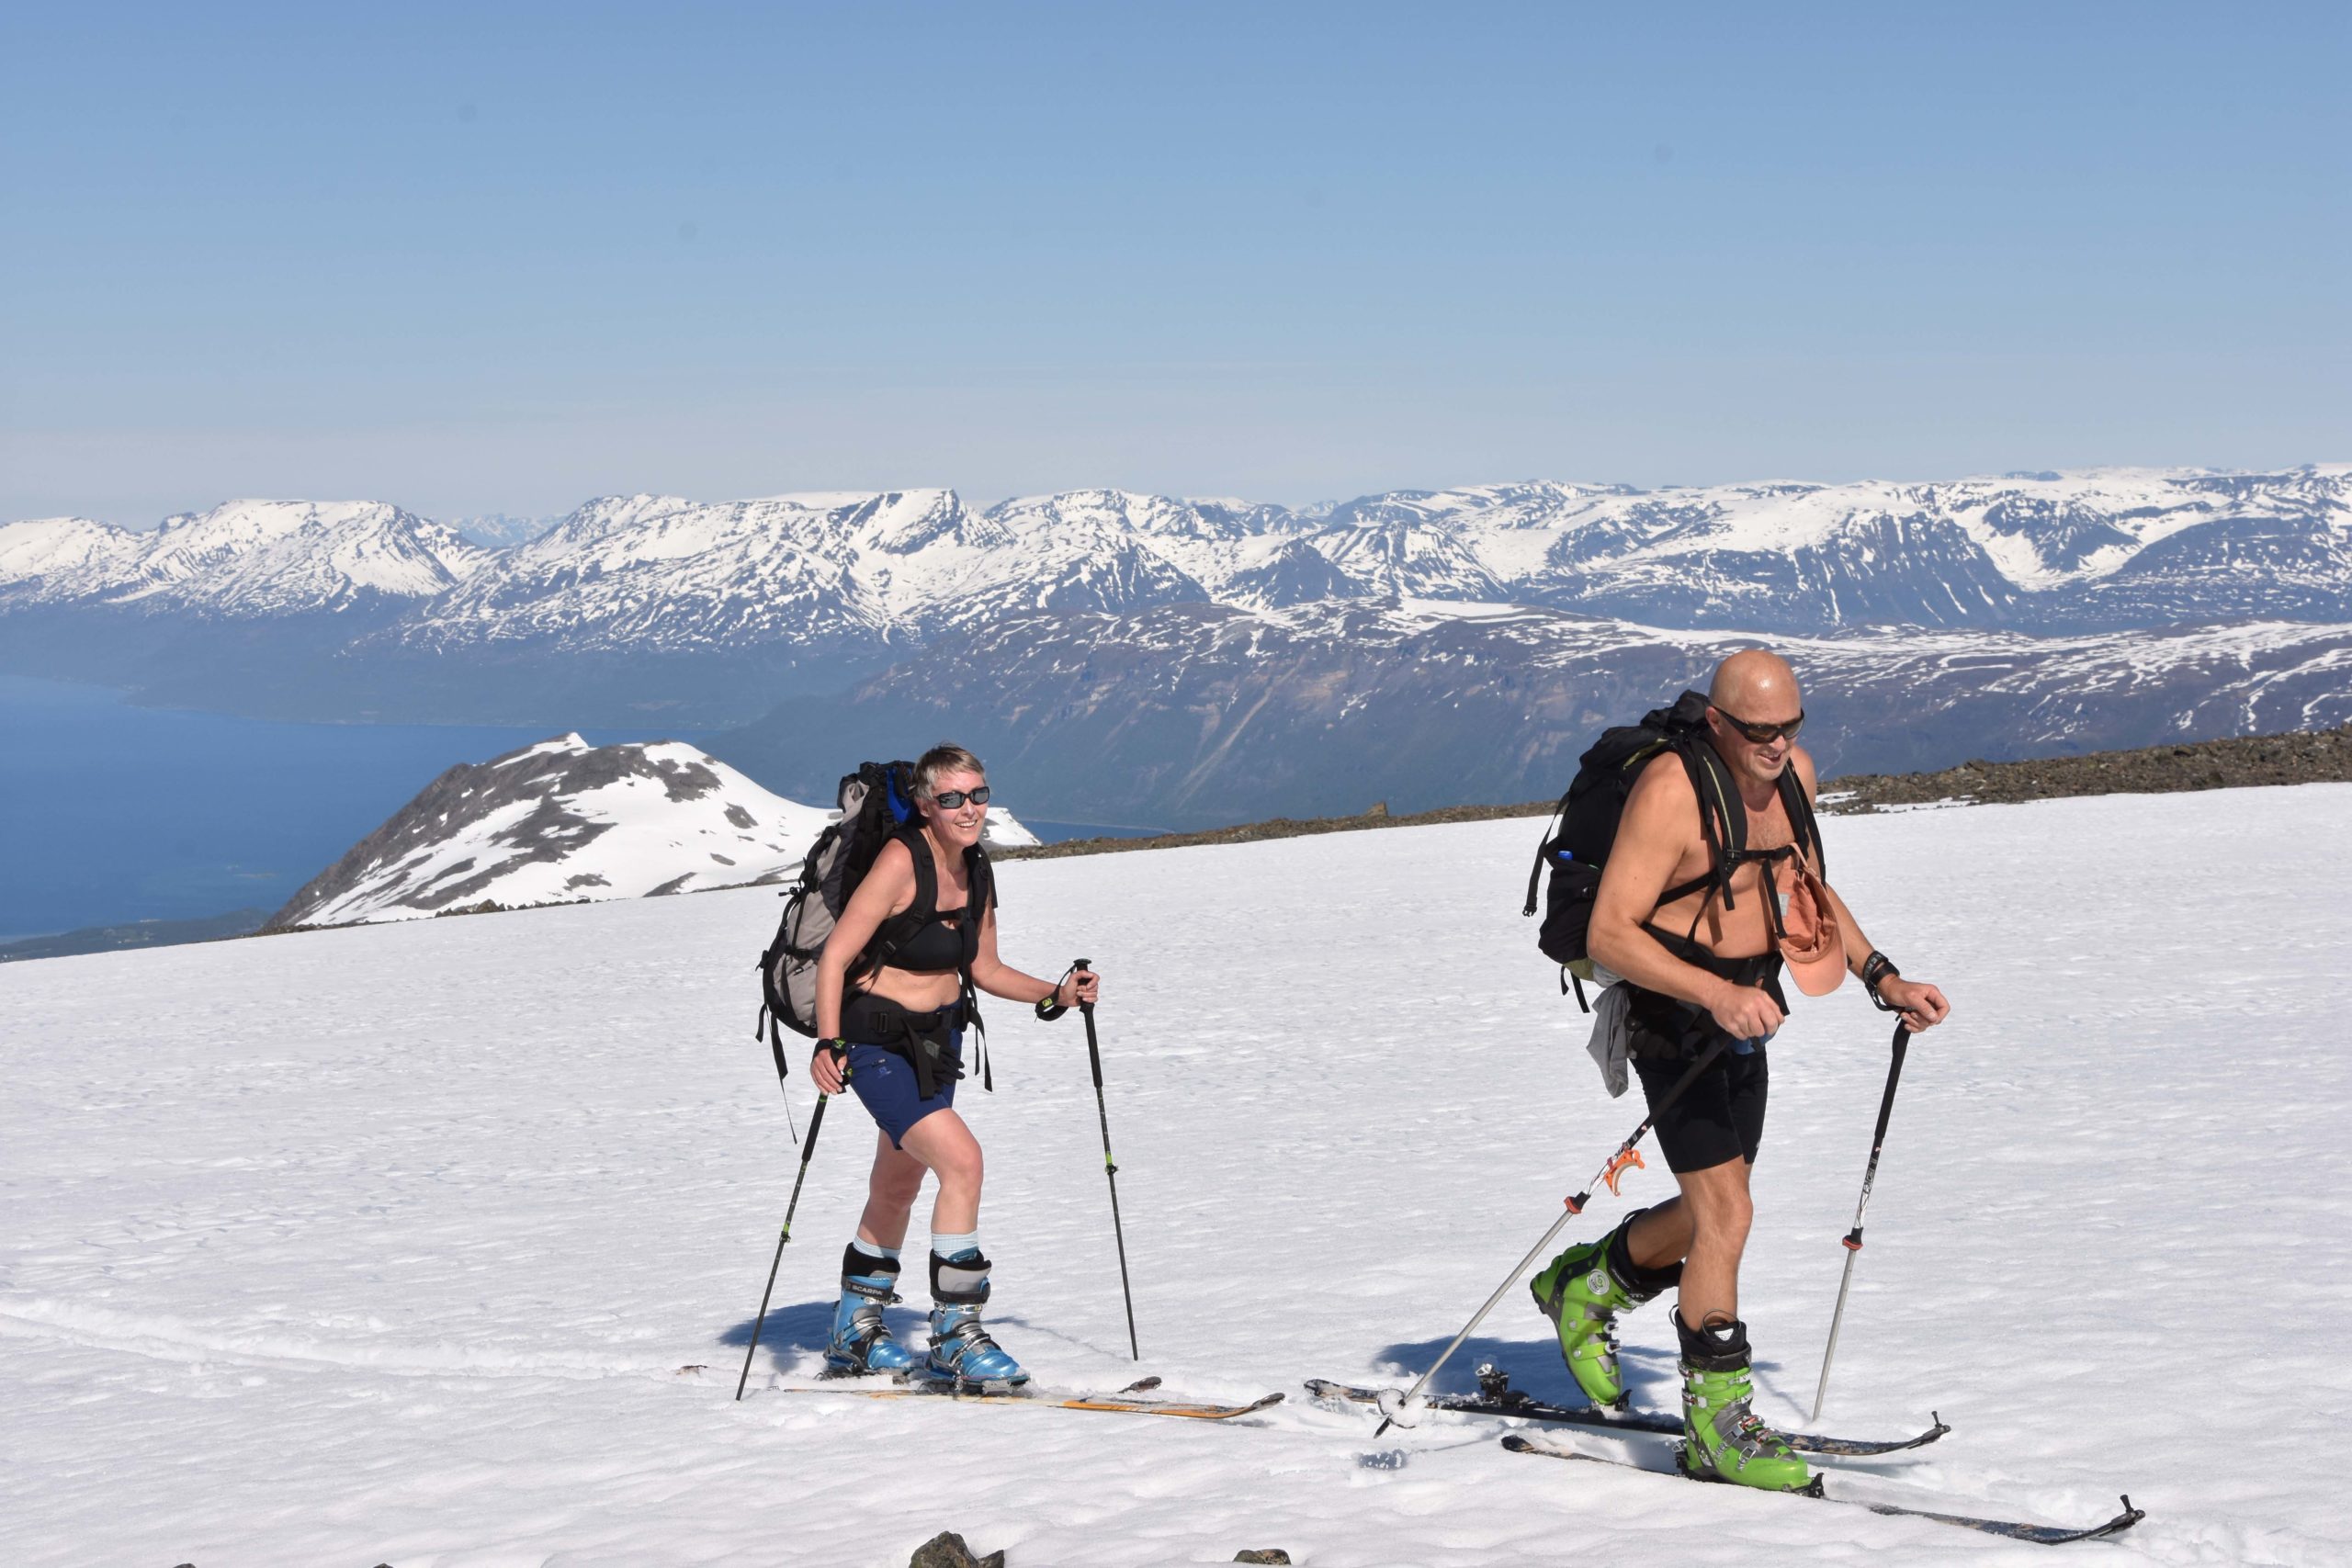
Sometimes there are setbacks, of course. You can break a ski or even fall and sprain an ankle. That is why it is important to bring all the equipment you need to handle unexpected events. But the biggest safety risk while ski touring is avalanches! This phenomenon can turn pure joy into deep sorrow. Safety is paramount. If the slope is steeper than 30°, you are at risk of being caught in an avalanche. Worst case scenario is death.
Avalanches can be deadly
Avalanches claim lives every year in Norway. In the 2018/2019 season, 13 people were killed. Of these, 7 people died while ski touring. The most tragic incident was an avalanche on Blåbærtinden in Tamokdalen, which claimed 4 lives.
Film 2 by: Johan Wildhagen/ @NveNo, In collaboration with @norskluftambulanse
We are moving into ever steeper terrain
With the current trend of more and more ski enthusiasts venturing out into steep Norwegian mountains, we have to increase awareness of what we can to to ensure we have a safe and good touring experience. Good planning is key. Many Norwegians have grown up with a mindset that we simply decide where we want to go. And then we go. Without planning. Without thinking it through and discussing the skills and knowledge of the other people in our group. This is not a good approach if we want to have a good experience.
Good planning is key! Where the final product is a touring plan everyone in the group is comfortable with.
Espen Nordahl, ski guide and avalanche expert
Frequently asked questions about avalanches and safety on tour
All terrain steeper than 30° can trigger potentially deadly avalanches.
In Norway, Varsom is responsible for the avalanche forecast.
We often separate avalanches into two different types: Loose snow avalanches and slab avalanches. Slab avalanches are considered the more dangerous of the two.
The best way to avoid avalanches is to make sure you do not venture into terrain steeper than 30°, or any potential outlet areas. Nortind has certified guides: your safest choice – and potentially the smartest way to find the best snow.
An outlet area is the area where avalanches slide out and stop.
Call 112 for emergencies, or if you need rescue. Phone coverage may be spotty or non-existent, however, and rescue may not be possible due to harsh weather. Know your Companion Rescue procedure, familiarize yourself with your avalanche safety equipment and learn how to navigate and survive in rough winter weather. A bivouac and a first-aid kit are highly recommended.
Recommendation: spend more time planning
Our recommendation is this: Spend more time planning. Sit down with your friends and talk it over. How challenging do we want the tour to be? Do we want to risk avalanche terrain? Or do we want a safe tour? Pull out a map. Check the weather forecast. Study the avalanche forecast at varsom.no. Pay particular attention to the information about avalanche issues. What are the avalanche issues? Where are these issues? Pay attention to the recommendations based on these avalanche issues. Let them guide your choice of route.
Things to remember before you go out
Download the Varsom-Regobs app, where anyone can register observations while out on the mountain. This is also the best source for updated information about snow conditions where we are going. An amazing and useful tool. Highly recommended. A summary question in the end: is this an acceptable tour and route choice, given the prevailing conditions? Is everyone comfortable with the plan? Even so, it may be a good idea to have a Plan B. Weather conditions may not entirely match the forecast, for example. This could mean that the route you planned is no longer an option.
Good execution is important
Good execution is important. When we wake up in the morning, we are hopefully well-rested and open the curtains to a beautiful bluebird day. There have been no major changes to yesterday’s forecast. The entire group is fit and ready to go. All signs point to Plan A. Once we get to the starting point of our tour, we find that conditions are still promising. On the drive there, we also watched the landscape for potential indications of any fresh avalanches, which are the most obvious sign of high avalanche risk. But we did not see anything of note. This bodes well.
Film 1 by: Johan Wildhagen/ @NveNo, In collaboration with @visitnorway
Remember this before you set out
Before we set out, we do buddy checks and make sure everyone’s transceivers work, both in transmitting and in receiving mode. We have to do this every time we go out. We also expect everyone to bring a shovel and probe and to know how to use them! In addition, everyone needs to carry a pack containing all necessary clothing, food, first-aid equipment, etc.
Always know where you are
The route we have chosen goes through avalanche-safe terrain. Even so, we have to know where we are at all times, in relation to the route we planned. Keep a map out and make sure your route matches your plan. It is not always easy to read the terrain from a map. It is a good idea to recalibrate your experience of the terrain once you are in it. If we bring up the Varsom regobs app on our phone, we also get our position on a map, along with an indication of how steep the terrain is. An amazing tool.
Film by: Johan Wildhagen/@NveNo. In collaboration with @visitnorway
Stay focused until you make it safely off the mountain
After a few hours of climbing, we reach the peak. We enjoy the view. We eat our lunch. We remove the skins. And we are ready for the descent. It is important that we don’t lose focus! It is a good idea to have a descent plan. Ski in pairs. Stop regularly to regroup. Once down, let the grin spread on your face as you wrap up an amazing tour. Debriefs are a good idea. Ask yourselves – is there anything we can do better next time?

